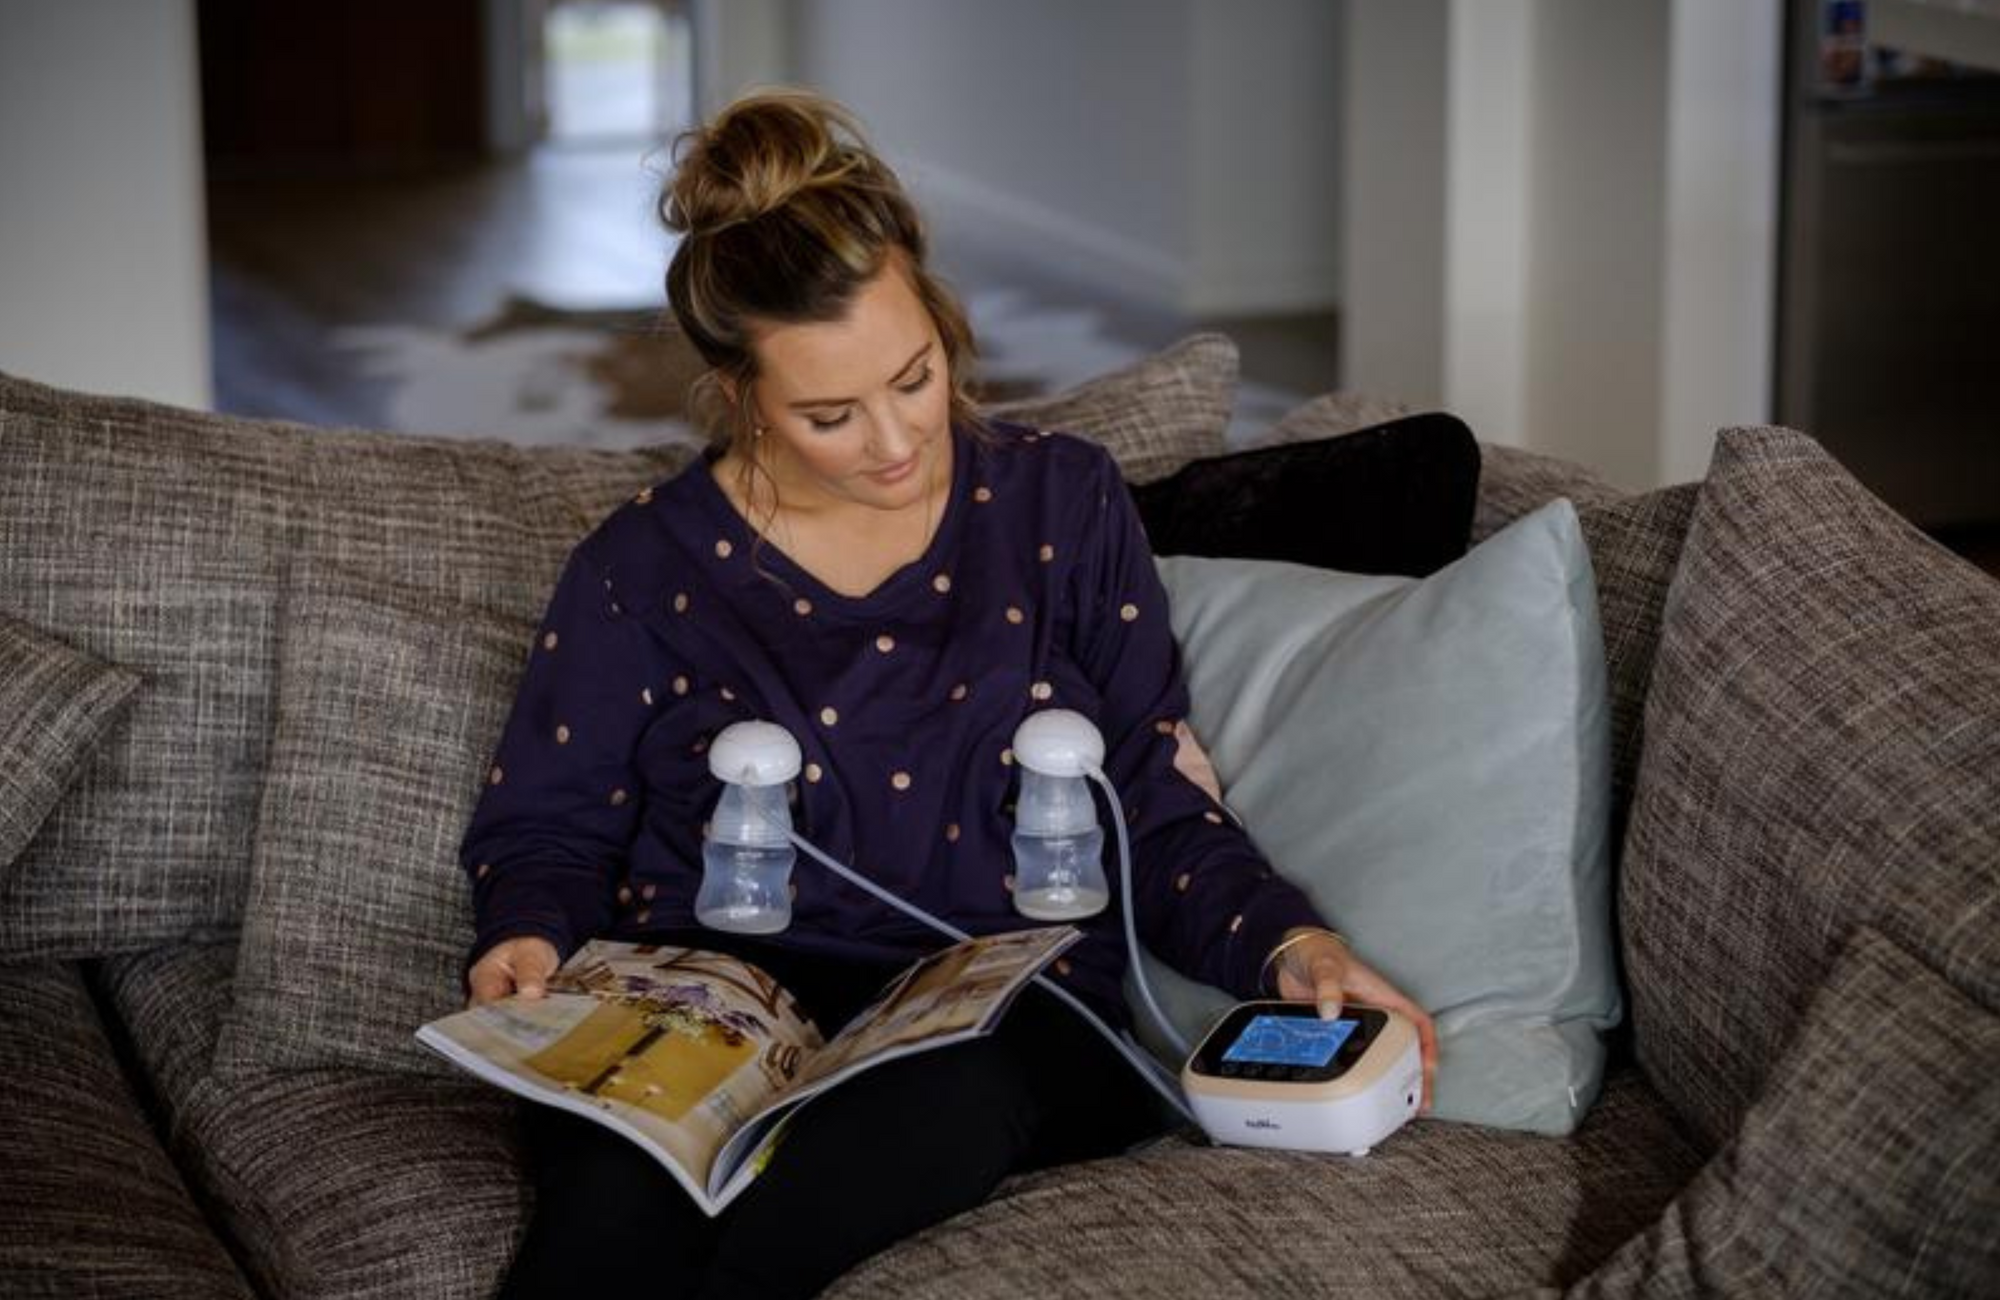
Free shipping Over $150 NZ & AU | NZ Owned & Operated
0

Your Cart is Empty

Breast Pumps - A Troubleshooting Guide

7 min read 3 Comments

Breast Pumps - A Troubleshooting Guide

We have combined some common troubleshooting steps and techniques for our Advanced Flow Double and Single Breast Pumps, these will hopefully help you in resolving any issues you may be experiencing. Thank you for taking the time to search and follow the outlined steps, if you find you are still having troubles, please do get in touch with our wonderful team and we will work with you to get you back pumping as quickly and painlessly as possible.


Kit Issues

We highly recommend reading our blog Expressing: Finding the Right Fit as a first step to ensuring you have the correct size and kit for your body, however if you are still having trouble knowing if you are still not feeling like you have the right options, here are a few signs you may have the wrong kit;

If the cushion/insert istoo large you may find;

  • the kit is taking in entire areola rather than the nipple and part of the areola (as a baby would when feeding from the breast)
  • you aren’t experiencing the three way massage/squeeze/suck motion and the tunnel is not compressing or touching the nipple / there is no or minimal let down or ongoing flow of milk 
  • your nipple is hitting the end of the kit 

If the cushion/insert istoo small you may find;

  • your nipple is becoming pulled and tight in the tunnel with increased rubbing 
  • you find the nipple is continually compressed rather than experiencing the massage motion of the pump
  • you may have blisters or  a small raised area of inflammation. 

If you are just beginning to breastfeed or switching from another brand of breast pump, it can take some time for the body to respond to expressing and the different sensation. Consistency and hydration are key ~ for further tips on helping to increase your supply our blog;how to help increase your breast milk supply may be of assistance.

Elastic Nipples

Elastic nipples can be a really complex issue but we have a few tips to help with them. 

The first thing is to make sure you aren't using the highest suction levels in either modes when pumping. The best thing to do is stick to as low a number as you can - 2/3/4 is best - this helps to limit the amount of suction on your nipples and hopefully prevent them from stretching so much. 

Another tip is to use some form of lubricant such as coconut oil/olive oil/breast milk on your nipples/areola to help prevent friction when pumping - this can make it more comfortable. 

Lastly sizing is the most important factor - with elastic nipples it is better to measure your nipples before a pump and use that as your measurement guide. 

Please reach out to us for more help here as we have some other options we are trialing for elastic nipples.

Loss of Suction

When your pump is on, with both sides going, take out the tubing from the pump unit and pop a finger over one of the holes at a time and check that you can feel a slight suction on each when your finger makes a seal over the opening.

If you can feel the suction (even very slightly) then it's most likely an issue with how the suction kit is set up or a valve issue.

For the valve, check there is no damage and the membrane is flush against the valve body (for the Original Suction Kit) or that the valve is sitting flush against each other at the opening (for the All-In-One or Air Flow Suction Kits). 

Sometime's milk residue can build up on the valve and cause them to stick together instead of releasing when the suction is released - this can potentially cause milk back flow and a reduction in suction. It's important to clean the valve very carefully with hot soapy water to help prevent this. 

If you can see that the valve is damaged you would need to purchase a replacement part, these are available online, under each kit.

If you can't feel any suction coming from the unit at all then we would need to get the unit back to take a look at what is going on. Please get in touch with us to arrange this. 

Suction Kit Loss of Air

If you find you’re hearing a loss of air in the kit, please check the below points to ensure each piece is in place; 

  • The silicone cushion insert is secured into the breast shield body tightly
  • The tube connector is connected tightly with the pump unit
  • The tube is connected tightly with tube connector at the end that attaches to the cap
  • The cap is connected tightly with the head of suction kit - this needs to be pressed firmly onto the kit body and then twisted in place. 

Suction Kit General Troubleshooting

Decline in expressed amounts:

  • If you are finding you are experiencing a dip in the amount you are expressing, the feel of less suction or can hear air escaping from the kit when expressing, we would suggest carefully checking over the silicone insert to ensure there are no tears or cracks in the pieces, including the cushion, diaphragm and valves as any damage to these will result in a loss of suction and therefore less output. 

* Please note that our bodies can fluctuate in the amounts we express daily, so although checking the above notes in regards to a decline in volume, if everything is in check, it could be a mixture of variables such as water intake, stress and other factors. 

Replacing Parts 

Asour kits use 100% food grade liquid silicone, with repetitive use, these will likely need replacing.

To ensure you make the most of every minute pumping and have the full effect of the suction, from time to time you will need to replace parts of your kits to keep optimal levels of expressing.

Note: this can differ for each user as some are exclusively pumping or others pumping on occasion, please consider this and contact us if you have any questions. 

Original Inserts - Every 12 months if required or if any damage occurs

All in One Inserts - should be replaced 4-6monthly based on usage in order to keep the valve working at its best

Valve & Membrane (original suction kit) - For full time expressing (6-12 times daily) every 2 - 3 months, or 6 months if daily/weekly use, or if any damage occurs

Diaphragms -  For full time expressing, commonly every 4 months or if any damage occurs 

Tubing -  If you notice a loss of suction or any damage 

We also note to replace bottles and teats between each child (e.g. if the pump and parts have been stored after use and then to be used again for the next child) as well as kits, depending on storage time and also strongly recommend replacing kits and bottles if you have purchased a second hand pump. This will ensure your pump has the highest level of efficiency and hygiene. 

All parts can be found and purchased through our online store underbreast pump parts and accessories

Milk/Water Backflow 

If water is found in the bladder or tubing, please rinse the tubing with clean hot water, and air dry completely before use. We suggest switching to the spare tubing that came with your kit if possible as it will take time for the tubing to dry completely. 

Please also carefully check the diaphragm to ensure it is not broken or split. 

The valve and membrane can also be the cause of backflow issues - pop the membrane flap off of the valve body and give it a good clean with hot soapy water to make sure there is no built up milk residue causing it to stick to the valve body. 

Unit / Battery Issues

If you have found your unit is not turning on or not able to be used after a full charge cycle; please check the following 

  • When charging have you tried to switch the pump between the on/off modes on the underneath switch?
  • Are you using the same charger that came with the pump originally?

We recommend testing the charging cable, or plugging in the cable at another power outlet and checking for any damage of the cable.

If the above is in check, you may need to have the battery or battery switch replaced in your pump, please let us know if you have noticed any of the following;

  • Have you noticed any errors on the screen at all? Any codes or flashing?

 Sometimes you may find after giving the pump a full charge the first bar of battery may drop, this is OK as long as you are still getting the full battery life (1.5 hour for the double or 3 hours for the single).

Error Codes

Your pump will sometimes display different error codes to notify you of an issue in the unit 

  • E1 or E2 means the battery has come loose from the circuit board internally, we can replace this under warranty or if outside of the 12 month warranty this can be replaced for a small fee of $50 plus courier.
  • E3 means the unit is over or below the optimal working temperature (5 deg to 60 deg) Place the machine in an area where it will reach optimal temperature and allow it time to cool down / warm up before operating. This can occur if it has been left in the sun, car or near a heater for an extended period of time, allowing the unit time to cool down in a shaded space and you should be able to continue use

Here at Milkbar we are always here to help! If you are having issues with your Milkbar Breast Pump please get in touch so we can work through some 1:1 troubleshooting and get you back to pumping asap!

We are absolute breast pump specialists here at Milkbar and can often work through issues and get your pumping more comfortably so please get in touch x


3 Responses

Milkbar Customer Care

June 13, 2023

Hi Mamas!

Please email us at info@milkbarnewzealand.com so we can assist 1:1 to help resolve these, super keen to help!

Laura.

Nicole
Nicole

June 13, 2023

Hi there. Just a question about the pump. I’ve just started expressing and getting good amount of colostrum via hand expressing and with the pump. However it seems to all collect in the flange and just makes my breast all wet/sticky and drips down onto my belly rather than into the bottle. What am I doing wrong?

Jessie Walker
Jessie Walker

May 22, 2023

Hi, I’m just getting in touch as my wireless breast pump doesn’t seem to be working any more – I have no suction power to it – I’ve removed and reattached everything multiple times but still no improvements.
Could you please let me know what I can do about this?
Thanks,
Jessie

Leave a comment

Comments will be approved before showing up.


Also in Guides and Tutorials

A Guide to Sterilising

4 min read

Expressing: Finding the right fit for you

4 min read 1 Comment

Just like getting the right shape and fit for your bra, you need to get the right shape and fit for your kit when expressing. Use our guide to make sure you have the right fit for you!